1. Accept the request
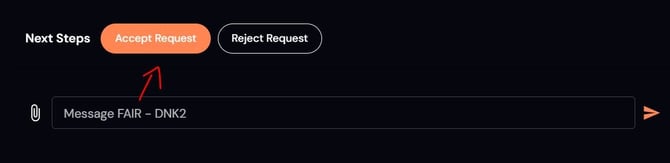
When a fleet assigns a new job, click Accept Request to get started.
Can’t take the job? You can Reject Request instead.
2. Mark the vehicle “In Shop”
Once the vehicle arrives, click In Shop to let the fleet know it’s on-site.

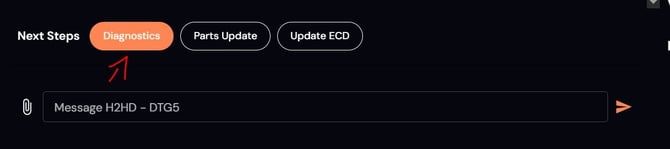
3. Submit diagnostics + mileage
Enter the vehicle’s mileage and click Diagnostics to submit it.
4. Inspect the vehicle
You’ll have 1 hour of pre-approved diagnostic time.
Need more time? Submit an estimate for additional hours before continuing.
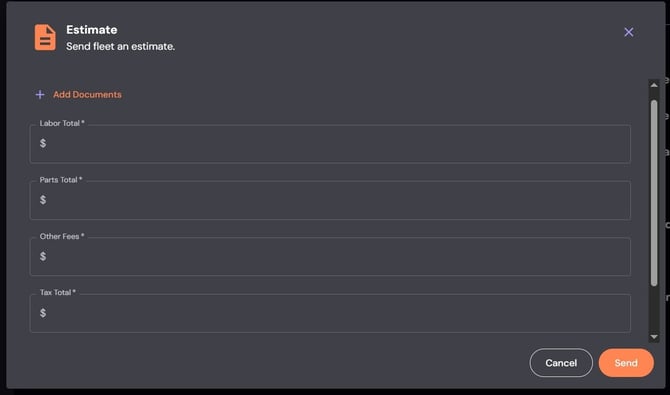
5. Upload your estimate
Upload an itemized PDF estimate (labor, parts, tax, fees).
Enter matching totals in the portal.
- When you click the "Share Estimate" or "Update Estimate" button, a popup box will fill your screen.
- In this popup window, type in the individual rates and upload the PDF estimate
- Ensure the totals you enter, match the totals in your PDF.
🚫 NOTE: DO NOT PROCEED WITH REPAIRS UNTIL YOU GET YOUR ESTIMATE APPROVED BY US.
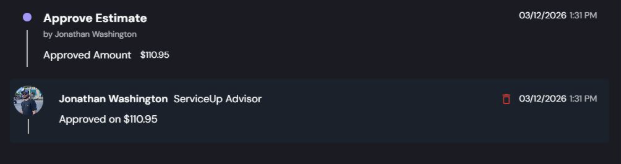
6. Wait for approval
Once approved, you’ll see the confirmed repair details.
- Our Service Advisor will mark it as approved and share the details of the approved repairs, as seen below.
If your estimate is declined, update and resubmit.
A declined estimate does not mean the repair is canceled.
7. Complete the repairs
After approval, begin work and keep updates current (Parts ETA, ECD, etc.)
8. Mark work completed
When repairs are finished, click Work Completed and submit mileage out.

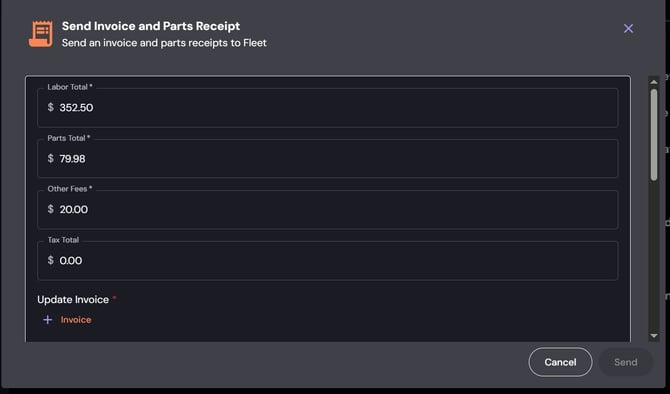
9. Upload your invoice
Click Upload Invoice or Update Invoice (orange button) to submit your final invoice.
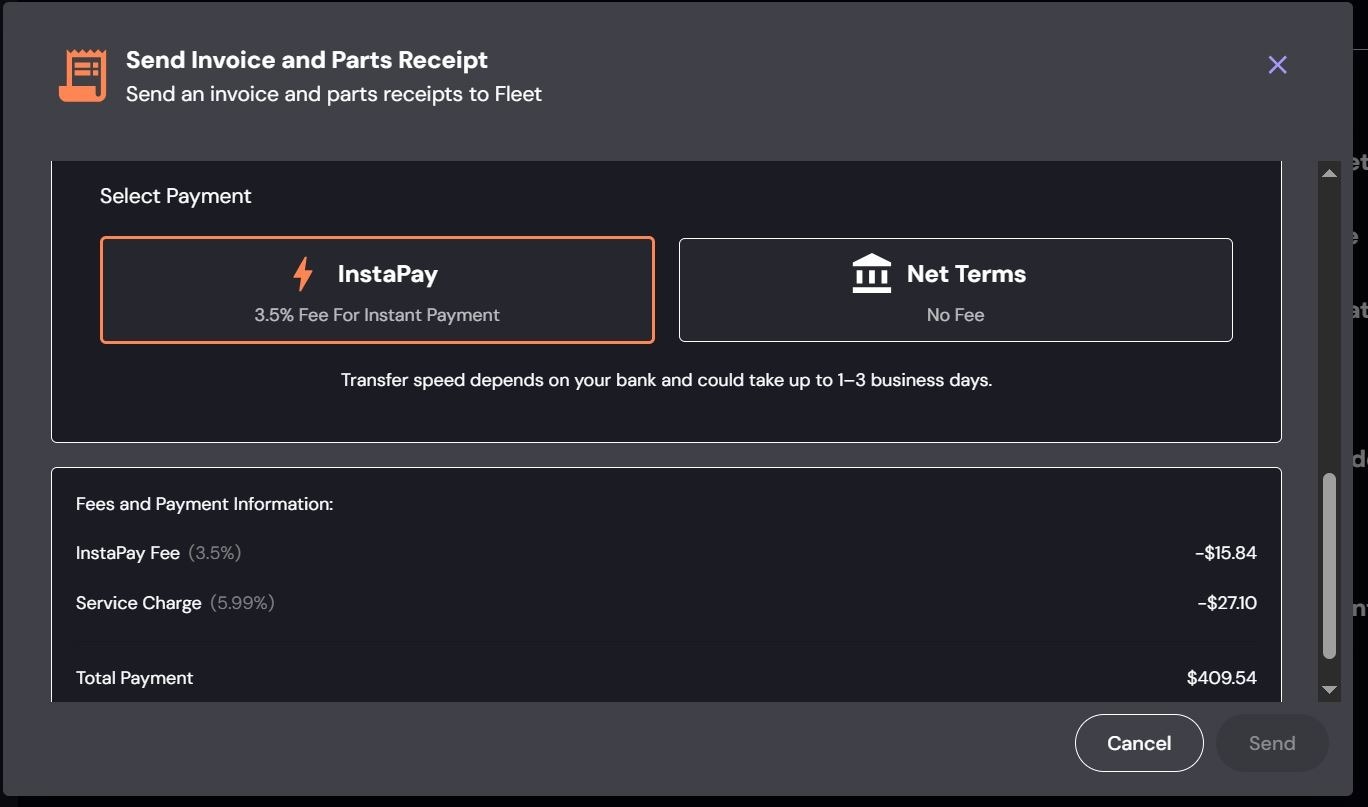
NOTE: Invoice total must match the approved estimate- Choose your payment method:
- InstaPay (1–3 business days, 3.5% fee)
- Net Terms (30–40 days, no fee)
Final step
Once the invoice is approved, the fleet will schedule pickup and close the RO.
If anything gets stuck along the way, reach out — we’ll help get it back on track.